Two weeks ago, my boyfriend and I did something I’ve been dreaming about for a long time… We bought our first house!!!
You may or may not know but I am a huge home fan. A little bit of a home body, but more of a interior decorating fanatic. I love to watch people smash down dark dated walls and build a beautiful bright airy space in its place. I’ve had my hand in a few interior projects, mainly my family’s Inn, The Prairie Creek Inn, but this is the first space that I can call my own. And I have to say I’ve been dreaming about our first house for a while.
The actual purchase and transfer of our first house was a bit stressful for us. We have specific plans, that I will expand on in a later post, which required a bit of a different layout, so finding the right house proved to be a challenge. After two months, 60 viewings, a very patient realtor, and two failed offers, we finally found our home.
I feel like this home was waiting for us.
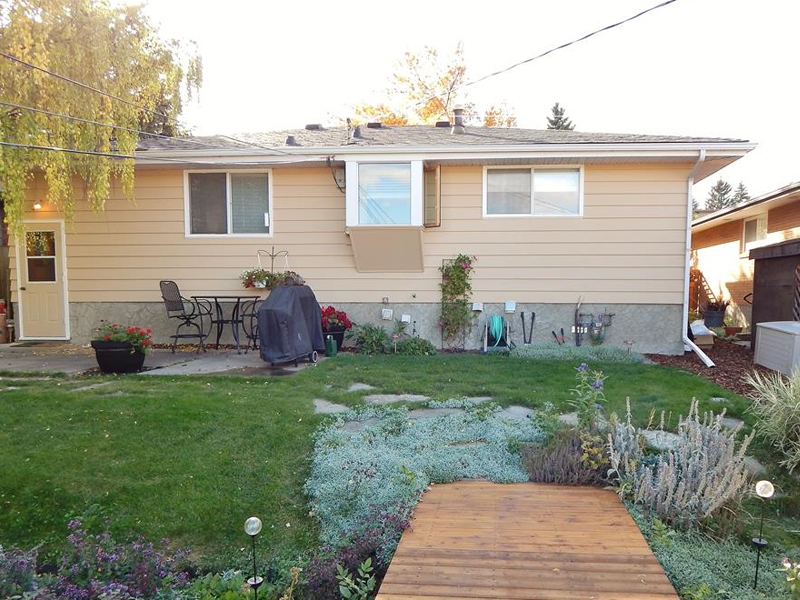
The seller, put off listing for months, and when he finally did list, I saw it online and knew we had to see it in person right away. It was in the neighbourhood we like, had great curb appeal and a willow tree (a wish list item of mine!). We weren’t the only ones that were excited about this house. They had so much interest in the first few hours that we had to share our viewing spot with four other couples, according to our Realtor, that is usually not done in the home selling game.
After a rushed 20mins of walking through the house, and less decision time than it normally takes me to buy a sweater, we decided it was the one and put in an offer that evening. To my disappointment so did three others! It took 30 hours and a bit of back and forth, but late the next evening we heard the good news, the seller picked us!
It took 40 days to close escrow. I’m glad it wasn’t three months because I might have gone nuts with anticipation! But during those 40 days I was distracted by the piles and piles of paperwork required. I’ve discovered that working with a bank to get a mortgage is a little like standing naked in a cold room as people point out all your flaws. I felt like such a dirt bag. Being a self employed creative has not had me rolling in the green, YET, and they made me feel like such a loser for it. My issues I know, a future blog post I’m thinking, but thankfully my boyfriend has a steady job and his strengths balanced out my weakness and vice versa.
Moving day finally did come.
I was so excited I had most of our house packed up the week prior, but I can’t say the same for the seller. I don’t know the particulars but it really didn’t seem like he was as excited to move as we were and that was clearly evident when we did our final walk through. 12 hours until he was suppose to hand over the keys to us for good and he didn’t have one packed box in the house. All we saw were his possessions in piles on the floor everywhere! We took it in stride and hopped he was a night owl who would put on his superman cape and miraculously get his house all packed up.
Turns out no cape
He is a mere underprepared mortal who was still packing and moving his stuff out when we arrived with our full moving van the next day. We actually had to help him. An hour after we had legal possession, we were packing and moving boxes for this guy. Three hours after having legal possession he finally had moved all his stuff to the lawn where he proceeded to shove it in a rented van. Turns out though he forgot a few things, like the contents of the entire garage, eight bags of garbage in the backyard, bottles in the fridge and to clean the kitchen or bathrooms!
Needless to say it wasn’t the best first house buying moving day and it actually made our Realtor very mad. With his encouragement we contacted the lawyers and the seller agreed to give us some financial compensation for the state of the home. It didn’t bring back a nice happy moving day into our first home, but it did cushion the blow a little, and a least we have quite the story to tell!
So we have been in our first house for just over two weeks now.
The demolition has already started and our plans for the next step are solidifying. In the next post I”ll show where we started and explain where we hope to end up. I know this is a side tangent from my art focused blogging but this is a big chunk of what makes me me. I hope you’ll join me as we transform this little 60’s bungalow into our first step down the real estate investing rabbit hole.

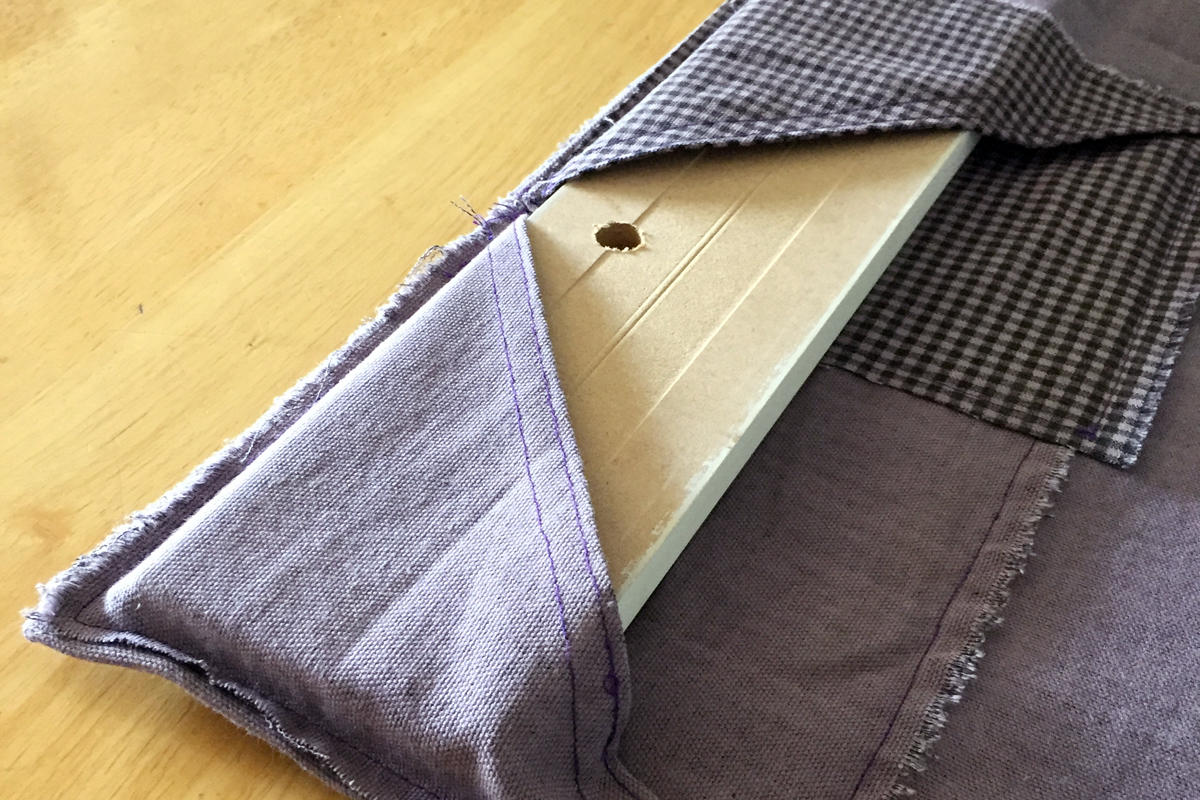
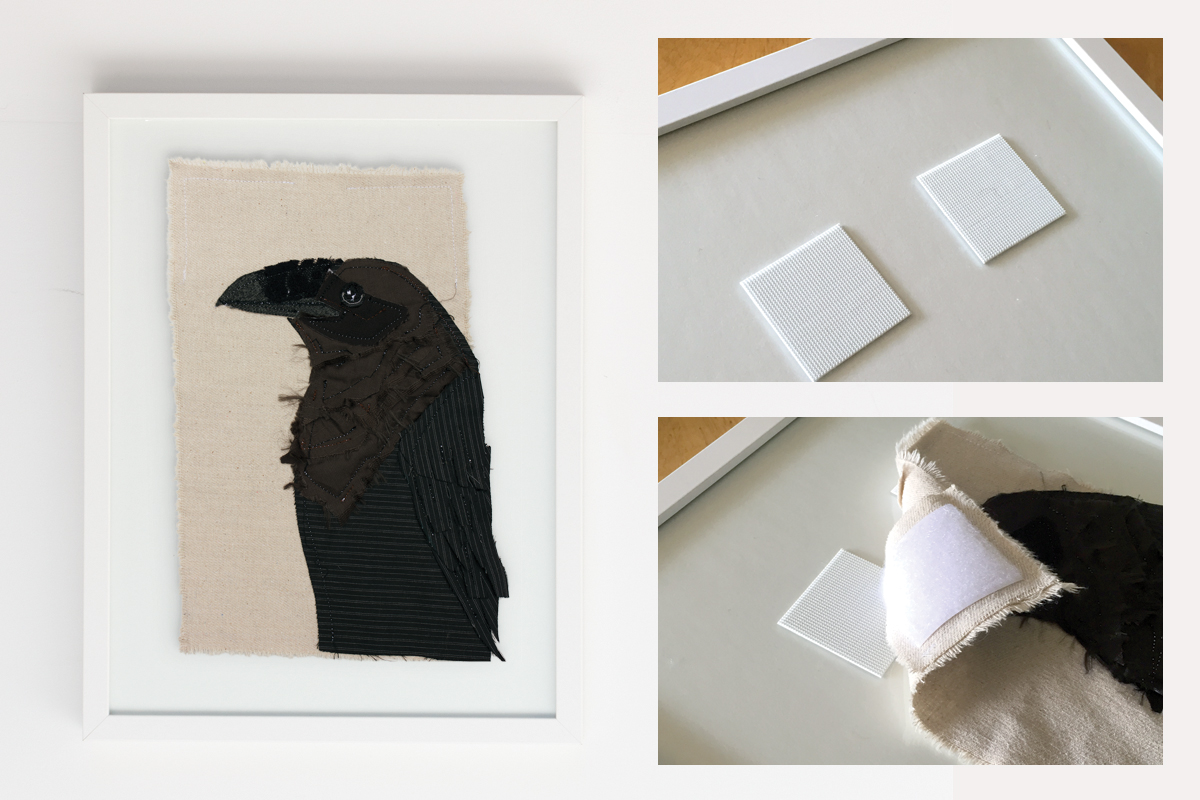
 For small and medium scale pieces (ie smaller than 20” wide) I prefer to hang them framed, as it gives them a bit more visual presence and weight in a room. To hang I have sewn 2-3 velcro tabs near the top edge of the textile art which can be paired with adhesive backed velcro pieces mounted on matt board which is then inserted into a frame. I choose to leave the glass off the frame as I mentioned in the