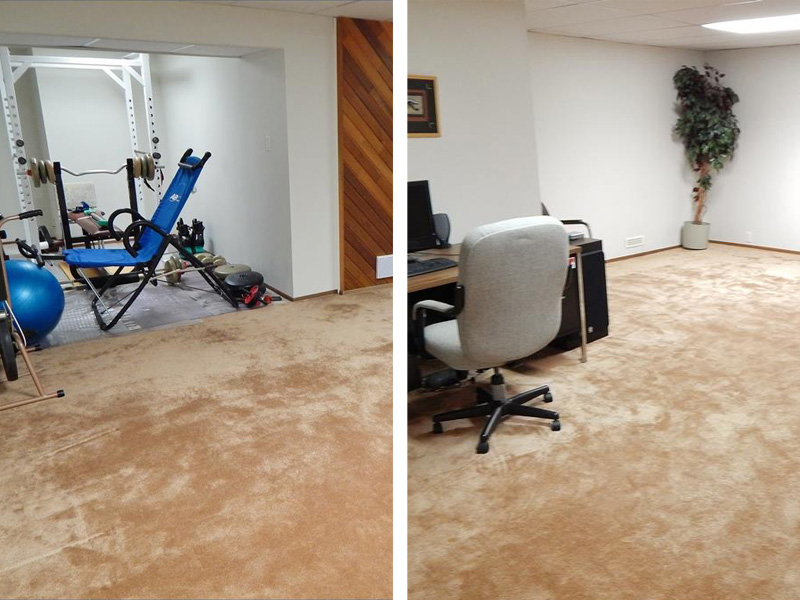
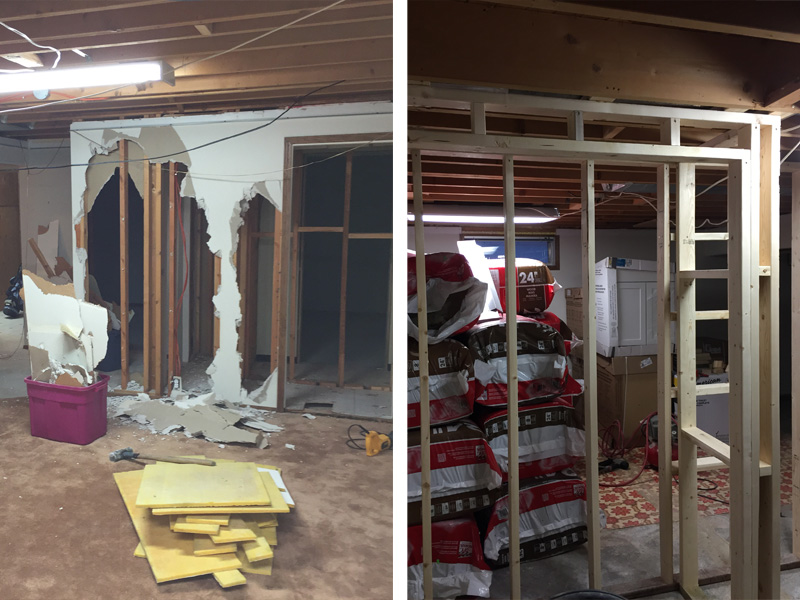
The basement in 7124 was a mix of 70’s rumpus room and 90’s office. Ugly beige shaggy carpet, red and brown patterned sheet linoleum, lovely dirty white drop ceiling and flickering fluorescent lights. It had a very depressing less than homey feel but lots of space to work with so we got to work right away and started demoing the ceiling and closets days after moving in. To say I was excited to see it transform and turn it into a home for someone was an understatement!

Demo it turns out is not something I enjoy. It wasn’t so much the breaking things, but the constant cleaning them up that got old. But with the old drop ceiling, drywall and carpet gone we could see a little bit clearer what we had taken on and it started to look daunting. The plan was to keep the one bedroom, build another beside it, move the bathroom beside the staircase to allow both suites access to the utility room and add a galley kitchen into a nook in the back of the basement. These choices were all made to limit the distances we would have to run plumbing but in hindsight it wouldn’t have been much more difficult to move the bathroom 20 feet than it was to move it 5! The things you learn along the way but more on that in another post.

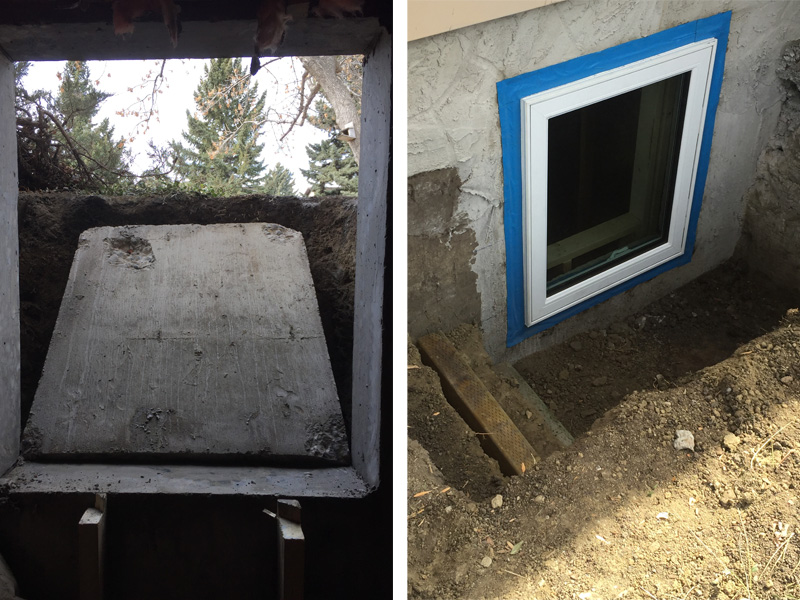
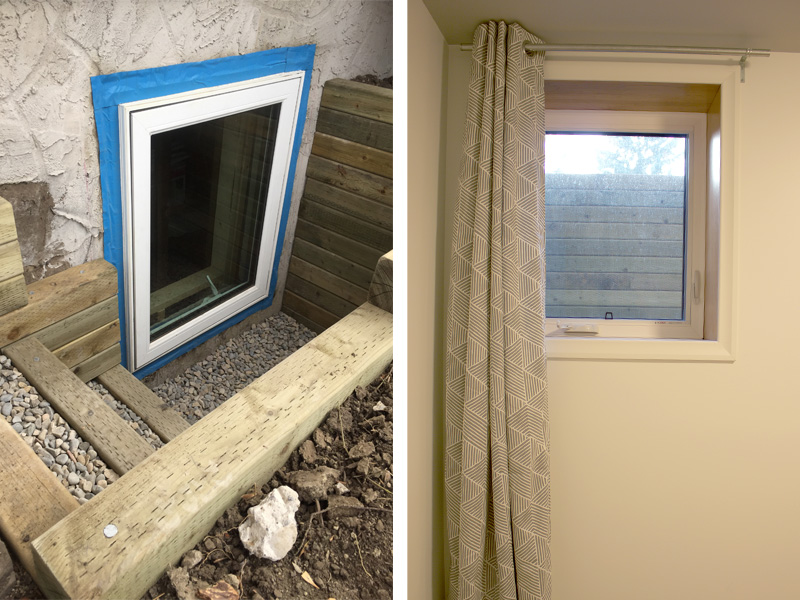
Even though our basement suite wasn’t going to be “legal” in the eyes of the City (because of zoning issues) it was very important to me to make it safe. We hired a company called Concrete Cutting Geeks to core and dig our window wells for the bedroom egress windows. The windows would help bring in more daylight and provide alternate exit points in the event of an emergency. The Geeks came to do the job on a cold day in February and it was amazing to see how quick they got the wells dug, holes cut and to see the light streaming in. Again my dad and a friend came and helped us install the new windows so we could get it all done before sundown.


Once we had all the walls up and the electrical inspected we spent what felt like two months shoving the ceiling full of as much safe and sound insulation and residual channel as we could. Previous to this house, we lived in a suited house with very little sound separation. I was very adamant that I wanted sound privacy for both me and the tenant so it was a huge priority. It turns out sound proofing is a very difficult task and we didn’t achieve the level of separation I was hoping for. It’s good, but it’s not have a party and scream good while the neighbour sleeps peacefully next door without hearing a thing. My expectations might have been a tad unrealistic 😛
With all the bones and guts in place we clad the walls and ceiling in drywall and taught ourselves how to mud and tape. It was a steep learning curve filled with a LOT of Fbombs but we got the hang of it a did a pretty prostar job in my opinion. The drywall was where we really got to see the shape of the suite and how the light moved around throughout the day. I still think the living room & kitchen could use a little more daylight so in the future we will double the size of the two existing windows, but for now we have lots of pot lights!
Now it was time to move on to the fun part, installing the finishes!

Leave a Reply