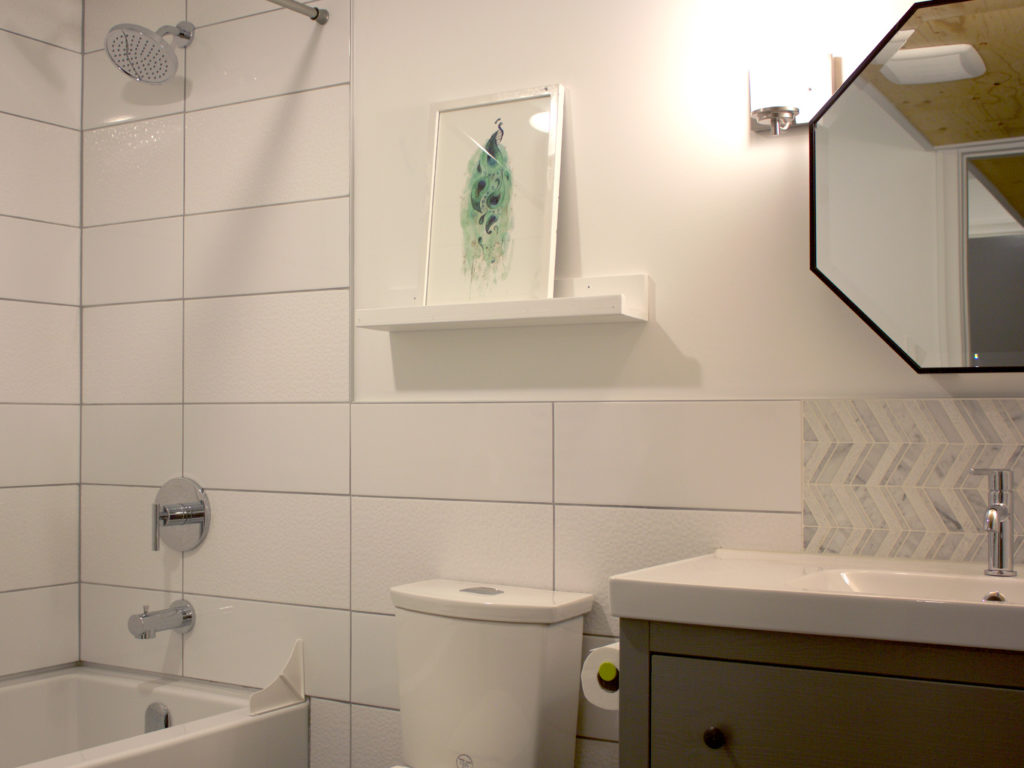
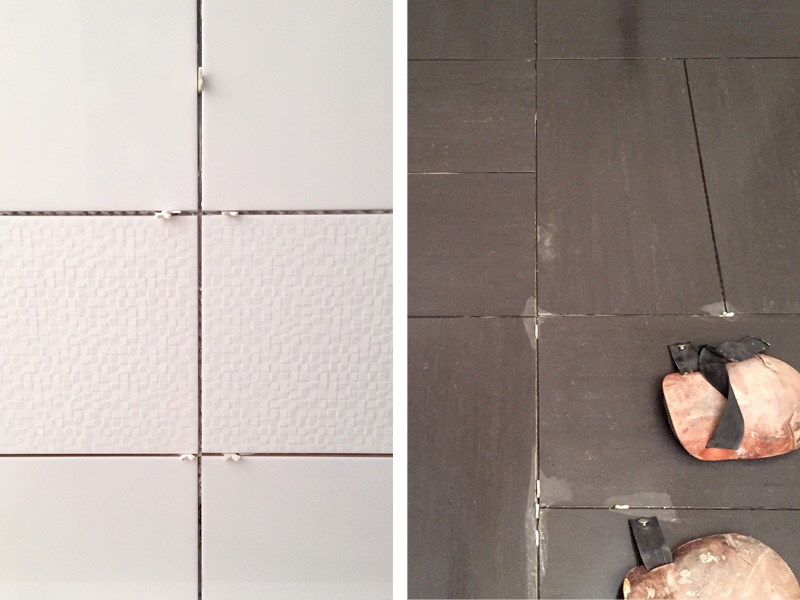
My plan for the bathroom was similar to the kitchen, make cheap tile look good and play with black and whites. I knew for sure I wanted to tile the walls of the tub/shower but the budget for tiles themselves was very small. In the upstairs bath we had played a lot with geometrics, so I wanted to keep that theme consistent throughout the house. This time I decided to simplify it by using rectangular tiles and playing with lines. I found an inexpensive white wall tile and paired it with a slightly more expensive white textured tile and created alternating horizontal stripes. The subtleties of it are hard to capture on film but in person it reads as a contrast of shiny and texture (see a pattern here?!, same thing I did in the kitchen). But again white on white, just looks sooo white, so it needed a little bump in contrast.
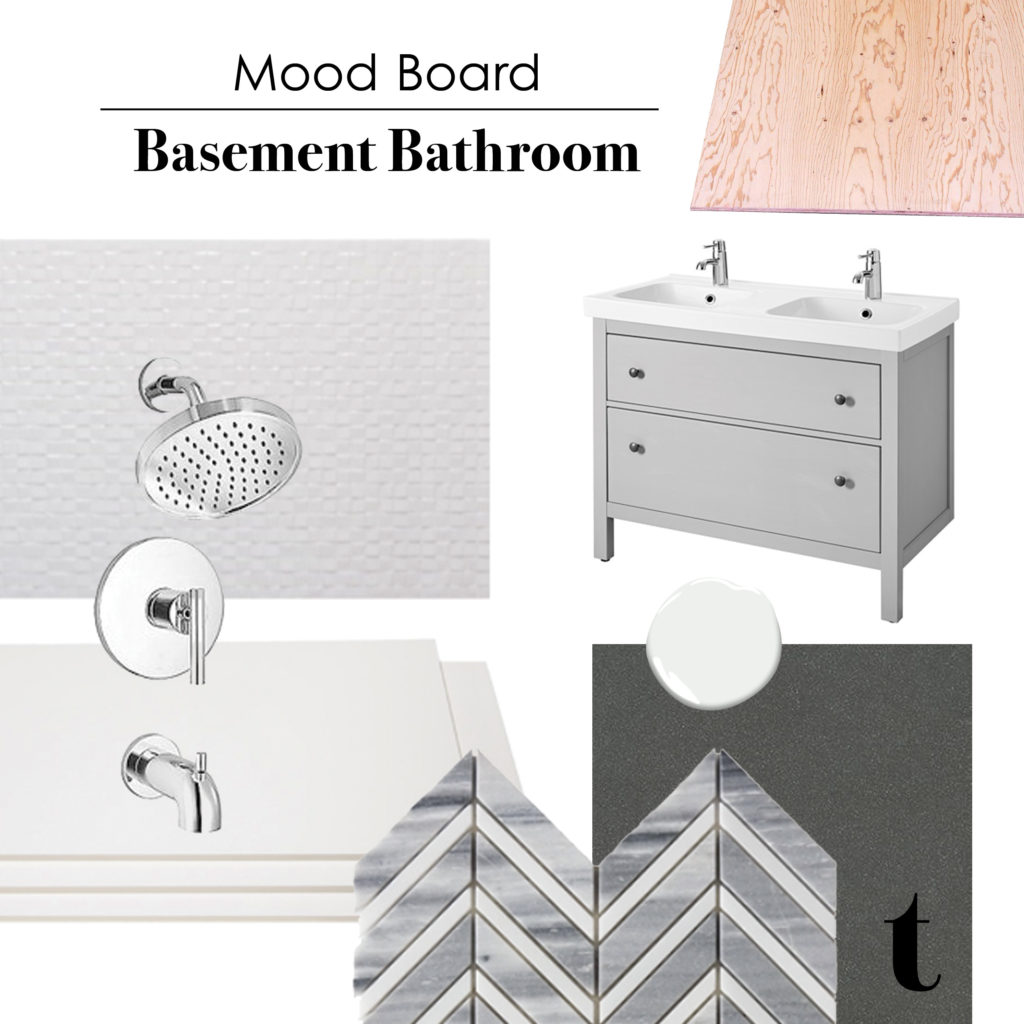
I found a matt black tile at a discount tile shop that I thought would add the perfect pop of contrast to all the shiny white texture. I originally wanted to lay it in a herringbone pattern but after measuring it out we discovered first off it was hard to get everything square! And secondly the bath was small and the tile was large, not allowing you to see much of the pattern anyway. We decided on a basketweave design instead which I really preferred once we got it installed. It’s understated and modern in its simplicity while adding a bit of visual interest to the floor.
We opted for a grey vanity with a white stone top from Ikea and decided to add a little bit of bling behind the faucet. I found a light white and grey mosaic tile in a chevron pattern that wouldn’t pull so much focus. Turns out when it was installed it read a lot darker than I wanted and not the subtle pop of pattern I was looking for. Not every choice is going to be a home run but we decided to leave it in place and just roll with it.
I decided to keep the vanity lighting very simple and clean-lined and let the vanity mirror, a trendy hexagon in black, be the focal point. The good thing is both of which are easy to change out at a later date is styles change or we just want to mix it up.
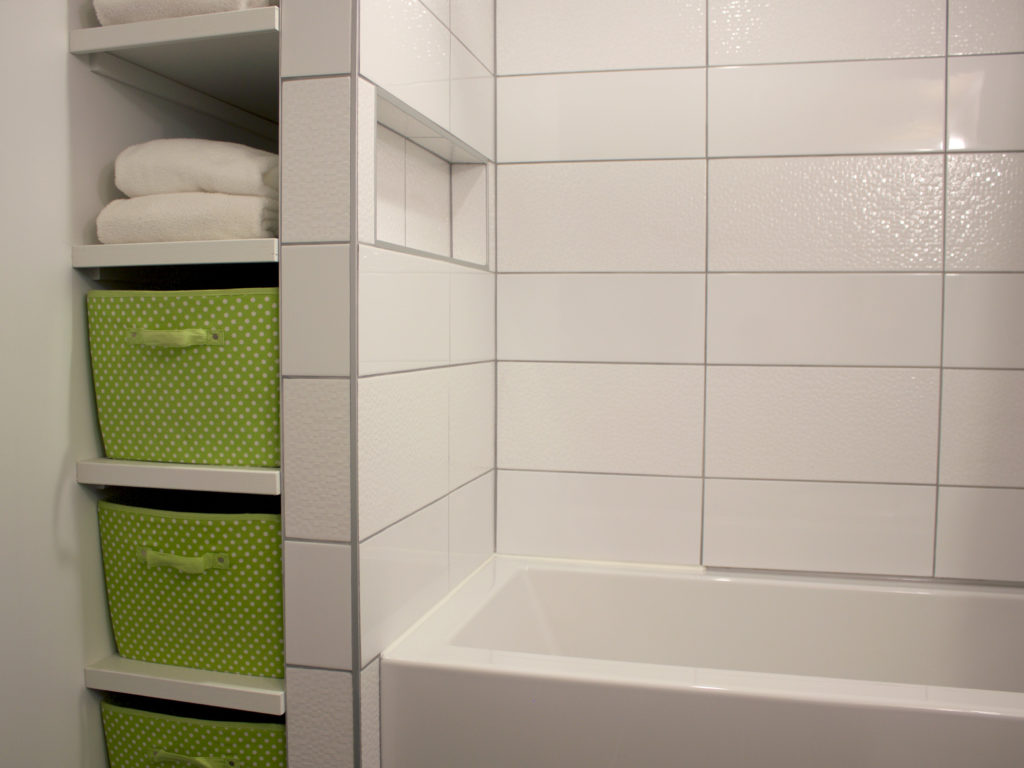
Storage is a big component in bathrooms and really houses in general. We made the bathroom about 18” larger than your standard builders’ bath and therefore were able to build a nook of shelves at the end of the tub. I would like to eventually put doors on them but for now they are open very deep shelves perfect for pretty storage baskets.
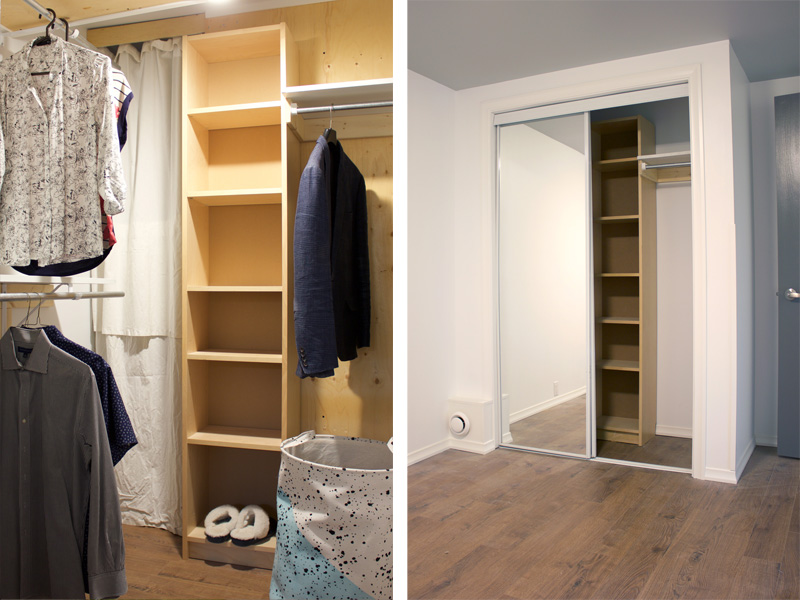
To bump up the storage in the rest of the suite I knew we needed to maximize our three closets. They were one of the last projects we tackled and by then the basement reno budget had been spent. Instead of racking up debt to buy weirdly expensive closet rods and shelf systems from a big box store, I decided to get creative. Using a combo of Ikea metal curtain rod hangers, leftover plywood, used Billy bookshelves, two premade brackets and electrical conduit I created really inexpensive but functional closet interiors. I’ll do another post showing how I outfitted three closets for less than $150.
That about sums up our basement reno and adding an income suite to our home. The rest of our reno focuses on the “great” room on the upper floor which is where I get to add a little more of my personality to the design.

Leave a Reply